
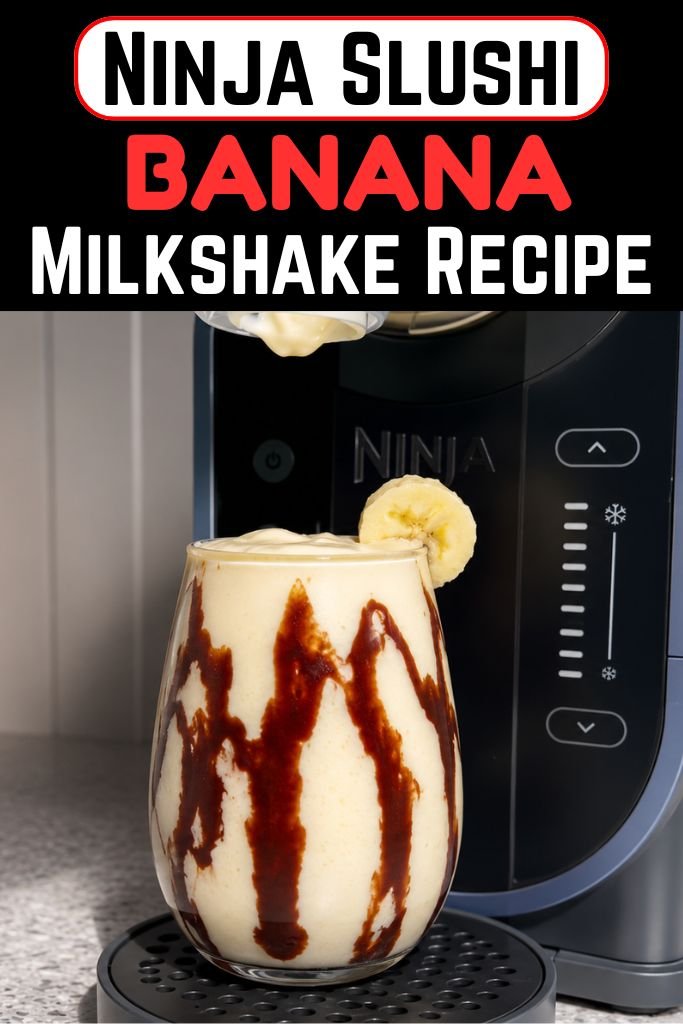
This Ninja Slushi Banana Milkshake Recipe turns ripe bananas into a cold, creamy treat in just a few simple steps. You only need a few basic items from your kitchen, and the machine does most of the hard work for you.
The Ninja SLUSHi Professional Frozen Drink Maker builds a thick, smooth texture on its own, so no ice cubes go in the mix. That keeps the drink extra creamy instead of watery or chunky.
This machine has a Milkshake preset made just for dairy-based frozen drinks, like chocolate milk and classic blended shakes. It sets the right cold temperature for a rich, spoonable result every time.
You can put this drink together even on your first try in the kitchen, since the steps are short and clear. It’s a great pick for a cold dessert drink on a warm day, or a sweet treat after dinner. Grab your bananas and let’s get started on this creamy, simple treat.
Why Make a Banana Milkshake in the Ninja Slushi?
A regular blender milkshake mixes fast, but it often turns thin after just a few minutes on the counter. A Ninja Slushi frozen milkshake stays cold and thick much longer, since the machine keeps chilling the mix while it turns.
The cold drum freezes the liquid slowly, and that builds a smooth, scoopable texture that a blender alone can’t match. This machine skips ice on purpose, since loose ice can throw off the freezing process and leave the drink watery or icy instead of creamy and even.
The Milkshake preset is built for this exact kind of dairy treat, so it locks in the right chill without any extra guesswork on your part.
Here’s what makes it worth trying: a smooth and creamy texture, no need for extra ice, simple everyday ingredients, and a fun cold treat that both kids and adults tend to love.
How Does the Ninja SLUSHi Milkshake Preset Work?
The Milkshake preset on the Ninja SLUSHi machine has one job: turn dairy and creamy mixes into a thick, cold drink with almost no effort on your part.
This preset is built for dairy and creamier drinks, unlike the Slush or Frozen Juice presets, which work better for thinner, fruit-based mixes.
Once you press it, the machine starts cooling the liquid right away, and it slowly builds a thick frozen texture while a small motor keeps everything moving inside. When the mix hits the right temperature, the unit beeps and keeps the drink ready to pour until you’re set to serve it.
The preset starts at a default temperature for a balanced texture, but you can raise or lower the temperature setting for a softer or thicker shake, based on your taste. Freezing time can shift a bit depending on how cold your starting ingredients are, how much liquid you pour in, and which mix-ins you use.
Ninja Slushi Banana Milkshake Ingredients & Substitutions
- Ripe bananas – Pick bananas with brown spots on the peel, since they taste sweeter and blend into a smoother mix. Green bananas tend to taste bland and don’t blend as well.
- Whole milk – Whole milk gives the shake a rich, creamy base. Two percent milk also works, though the shake will taste a bit lighter.
- Vanilla extract – A small splash of vanilla adds warmth to the banana flavor. Vanilla bean paste also works, if you have it on hand.
- Granulated sugar – Sugar adds sweetness and balances the banana flavor. Honey or maple syrup also works well as a swap.
- Pinch of salt – A tiny pinch of salt makes the sweet flavors pop more. This step is small, but it makes a real difference in taste.
- Chocolate syrup (for topping) – A drizzle on top adds extra flavor and a nice look. Caramel sauce or crushed cookies also work as a topping swap.
Kitchen Equipment You’ll Needed
- Ninja SLUSHi Professional Frozen Drink Maker – makes the frozen shake
- Blender – blends banana and milk smooth
- Measuring cups – for liquid amounts
- Measuring spoons – for vanilla and sugar
- Rubber spatula – scrapes down the blender
- Serving glasses – for the finished shake
- Long spoon or straw – for serving and stirring
How To Make Ninja Slushi Banana Milkshake
Step 1: Blend the Banana Mixture
Peel your ripe bananas and add them to a blender along with the whole milk, vanilla extract, sugar, and a small pinch of salt. Blend on high speed for about thirty seconds, or until the mixture turns fully smooth with no lumps left. The Ninja SLUSHi machine cannot take in solid pieces of fruit, so this blending step matters a lot for a smooth final result.
Step 2: Check the Liquid Amount
Pour the blended mixture into a measuring cup to check the total amount. The Ninja SLUSHi machine needs at least sixteen ounces of liquid to run properly, and it can hold up to sixty-four ounces at one time. Add a little extra milk when your mixture falls short of the minimum amount.
Step 3: Add the Mixture to the Machine
Open the cover on top of the vessel and pour your blended banana mixture through the easy-fill port. Close the cover firmly once all the liquid is inside the machine.
Step 4: Choose the Milkshake Preset
Press the power button to turn the unit on, then select the Milkshake preset from the options on the panel. The machine will start at its default temperature setting, which works well for most milkshakes right away.
Step 5: Let the Machine Freeze the Shake
Allow the machine to run and freeze the mixture. This step can take between fifteen and sixty minutes, depending on how cold your ingredients were to start and how much liquid you added. The lights on the panel will pulse while the drink freezes, then turn solid and beep once the shake reaches the right temperature.
Step 6: Dispense and Serve
Place a glass under the handle on the drip tray, then slowly pull the handle to pour out your milkshake. Top it with a drizzle of chocolate syrup, if you’d like, and serve right away for the best texture.
Tips for the Best Ninja Slushi Banana Milkshake
- Use Very Ripe Bananas – Bananas with brown spots blend smoother and taste much sweeter than firm, green ones.
- Chill Your Milk First – Cold milk helps the machine freeze the mixture faster, which shortens your total wait time.
- Don’t Overfill the Vessel – Stay under the sixty-four ounce mark so the machine has enough room to churn properly.
- Adjust the Temperature Slowly – Move the setting one level at a time until you land on your favorite thickness.
- Serve Right Away – This milkshake tastes best fresh from the machine, while the texture is still thick and smooth.
- Clean the Vessel Right After Use – Rinsing the parts soon after serving keeps cleanup quick and easy.
Banana Milkshake Variations to Try
A cold glass of this banana shake pairs well with warm days, quiet afternoons, or a sweet finish to a simple dinner. Once you master the base recipe, it’s easy to switch things up based on your mood or what’s already sitting in your pantry. Here are a few tasty twists on the classic version:
- Chocolate Banana Milkshake – Add cocoa powder or chocolate syrup to the blender for a rich, chocolate-forward flavor.
- Peanut Butter Banana Milkshake – Blend in a spoonful of peanut butter for a creamy, nutty twist on the base recipe.
- Strawberry Banana Milkshake – Add strawberry flavoring or a handful of blended strawberries before pouring the mix into the Ninja Slushi.
- Caramel Banana Milkshake – Stir in caramel sauce for a sweet, dessert-style version of this drink.
- Protein Banana Milkshake – Add a milkshake-friendly protein powder and adjust your sugar amount to match your taste.
How to Store Leftover Ninja Slushi Banana Milkshake
This milkshake tastes best right after it comes out of the machine, while the texture is still thick and cold. Any leftovers should go straight into the refrigerator in a sealed cup or container.
Give the shake a good stir before drinking it again, since the texture tends to separate a bit and turn softer after sitting for a while.
The Ninja Slushi machine can also keep your drink at a ready-to-serve temperature for a short stretch while the preset keeps running, so you don’t always need to store leftovers right away. For the smoothest texture and the best flavor, though, pouring and drinking your shake fresh is always the better choice.
Frequently Asked Questions
1. Can I use frozen bananas in this recipe?
No, frozen bananas shouldn’t go directly into the Ninja Slushi machine. Blend them into a smooth liquid with your milk first, since the unit is built for liquid mixes only, not frozen chunks.
2. Can I make this milkshake without dairy?
Yes, oat milk or almond milk can replace whole milk in this recipe. The texture may turn out a touch thinner, but the Milkshake preset still works well with these swaps.
3. How long does a batch usually take to freeze?
Most batches take between fifteen and sixty minutes, based on your starting temperature, how much liquid you used, and which ingredients went into the mix.
4. Can I double this recipe for a larger batch?
Yes, as long as your total liquid stays under the sixty-four ounce limit for the machine. Doubling the base recipe usually fits well within that range.
5. Does the machine need cleaning between different flavors?
Yes, rinse the vessel, auger, and drip tray between batches, especially when you’re switching from one flavor to a very different one, so flavors don’t mix.
Ninja Slushi Banana Milkshake Recipe
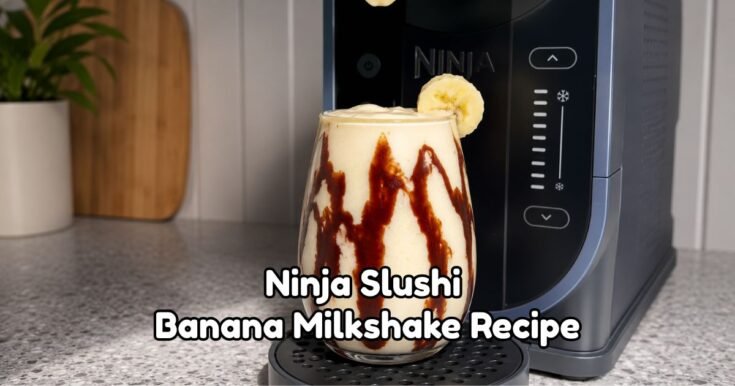
Make this Ninja Slushi Banana Milkshake in 40 minutes with ripe bananas, milk, and a creamy frozen texture using your Ninja SLUSHi machine.
Ingredients
- 2 ripe bananas, peeled and sliced
- 2 cups whole milk
- 1 teaspoon vanilla extract
- 2 tablespoons granulated sugar
- 1 small pinch of salt
- 2 tablespoons chocolate syrup, for topping (optional)
Instructions
Blend the Banana Mixture: Add ripe bananas, whole milk, vanilla extract, sugar, and salt to a blender. Blend on high for about 30 seconds until completely smooth with no fruit pieces remaining.
Check the Liquid Amount: Pour the blended mixture into a measuring cup. Make sure you have at least 16 ounces of liquid for the Ninja SLUSHi machine to work properly. Add extra milk if needed.
Add Mixture to Ninja SLUSHi: Pour the smooth banana mixture into the Ninja SLUSHi vessel through the easy-fill port. Secure the cover before starting.
Select Milkshake Preset: Turn on the machine and choose the Milkshake preset. The machine will begin freezing the mixture at the recommended setting.
Freeze the Milkshake: Let the Ninja SLUSHi run until the milkshake reaches the desired frozen texture. This usually takes 15–60 minutes depending on ingredient temperature and batch size.
Serve the Milkshake: Place a glass under the dispenser and slowly pour the banana milkshake. Add chocolate syrup on top if desired and serve immediately.
Nutrition Information:
Serving Size: 1Amount Per Serving: Calories: 285
This Ninja Slushi Banana Milkshake Recipe turns a few pantry staples into a smooth, cold dessert drink without much effort at all.
The machine handles the hard part, so you’re left with a rich, creamy shake every single time. Try it once, then rate it below and share your thoughts in the comments.