
Grab your Ninja Slushi, because today we are making a cold, sweet treat that tastes like summer in a cup. This Ninja Slushi Strawberry Milkshake Recipe turns fresh strawberries, milk, and cream into a thick, creamy drink without using a single ice cube.
That might sound strange at first, but the Ninja Slushi machine does something a normal blender cannot do on its own.
It chills your mix slowly while it spins, turning simple liquid ingredients into a smooth, frozen texture right inside the vessel. For this recipe, you will use the Milkshake preset, which is built just for dairy and cream drinks like this one.
It keeps the mix cold and creamy instead of watery or grainy. Once you pour the blended mix into the machine, it does most of the work for you, so there is no need to stand over a blender guessing when your drink is thick enough.
In the next few minutes, you will learn exactly what goes into this drink, how much it makes, and how to get that perfect thick pour every single time. Let’s get started on this sweet, simple treat.
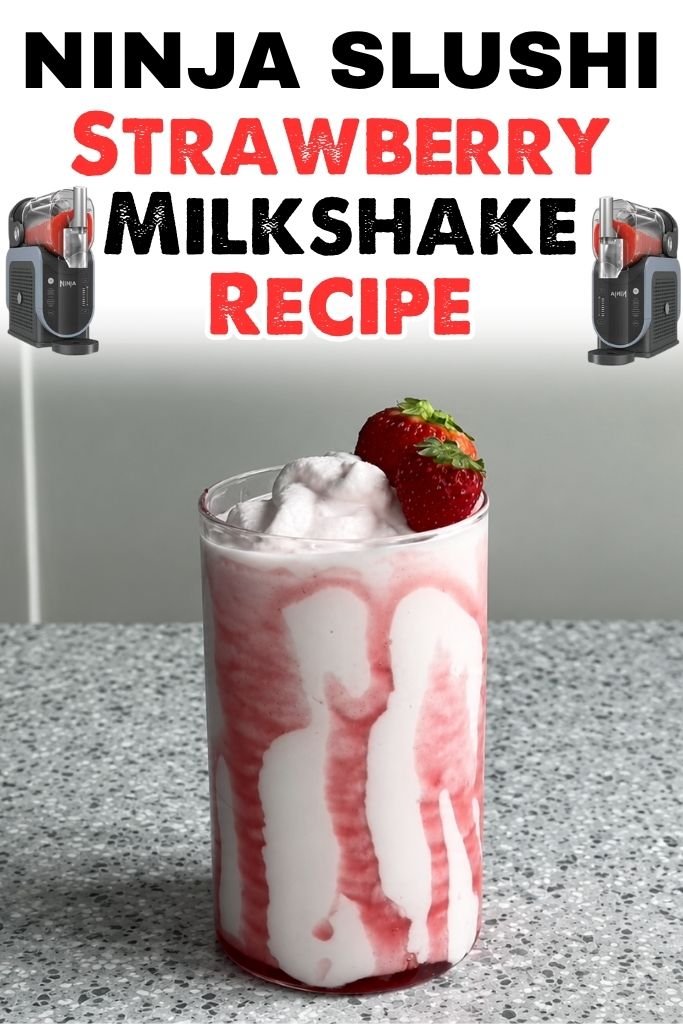
What Makes This Ninja Slushi Strawberry Milkshake Different?
This drink sets itself apart from a normal milkshake made in a blender. A blender only chops and mixes; it cannot chill your drink at the same time, so you usually need ice or already-frozen fruit to get any cold, thick texture.
The Ninja Slushi does both jobs together in one machine, so you get a thick, cold treat without watery melted ice weighing it down or thinning out the flavor. My favorite part is how smooth the texture turns out every single batch, since the machine keeps working until your mix hits the right temperature.
Once it gets there, the unit holds your drink at that level so it stays perfect until you pour it into a cup. This drink feels closer to something you would order from a real milkshake counter than anything made with a plain blender and a scoop of ice cubes.
Why Use the Ninja Slushi for a Milkshake?
The Ninja Slushi chills your drink as it spins, so the mix slowly turns into a thick, frozen treat right inside the machine.
A regular blender cannot do this part on its own; it only blends what you put in and leaves the chilling job up to your freezer or a handful of added ice.
This machine skips that extra step completely, since the cold comes from the unit itself and not from melting cubes. That means your drink stays full of flavor instead of getting watered down, and you never end up with a thin, weak milkshake at the bottom of your cup.
Why the Milkshake Preset Is the Best Choice
The Milkshake preset was built for dairy and cream-based drinks, which makes it a perfect match for this recipe.
It works well for drinks like chocolate milk or a classic blended milkshake, keeping the fat and cream in your mix smooth instead of icy or broken apart. Picking the correct preset matters a lot, since each setting starts at a different temperature made for a certain type of drink.
Using the Milkshake setting here gives you a rich, creamy pour every time, instead of a grainy or slushy texture that might happen with a setting made for sodas or juice instead.
What Texture Can You Expect?
Your finished drink will be thick, creamy, and cold from the top of the cup to the bottom. Since there is no added ice, it never turns watery or thin as it sits on the counter for a few minutes.
It comes out smooth enough to pour right from the machine into your cup, much like a milkshake you would get from a shop counter rather than a chunky, icy blend from a home blender.
How Much Strawberry Milkshake Does the Ninja Slushi Make?
The Ninja Slushi needs at least 16 ounces of liquid to run properly and can hold up to 64 ounces of liquid at once. This Ninja Slushi Strawberry Milkshake Recipe makes about 32 ounces, which is enough for two large cups or four smaller ones for the kids.
You can scale the recipe up or down as needed, just keep your total liquid amount between the machine’s MIN and MAX lines printed inside the vessel so it runs safely and freezes evenly.
I like making a bigger batch when friends come over, since the machine holds plenty of room to spare without overflowing.
Keep in mind that the amount you pour in and how cold it already is can change how long freezing takes. A colder starting mix usually thickens faster than one sitting at room temperature, so chilling your ingredients ahead of time can save you a few extra minutes of waiting.
Ninja Slushi Strawberry Milkshake Ingredients & Substitutions
This amount makes about 32 ounces, which fits right in the middle of the machine’s 16-ounce minimum and 64-ounce maximum lines.
- Fresh Strawberries – 2 cups, hulled Ripe, red strawberries give this drink its sweet, fruity taste and pretty pink color. Wash them well and remove the green tops before adding them to your blender. Frozen strawberries also work well here, though you should thaw them first, since the machine needs a smooth liquid mix rather than solid, frozen pieces.
- Whole Milk – 1 cup Whole milk adds a rich, creamy base to the mix and helps everything blend into a smooth liquid. It gives the machine plenty of dairy to work with, which helps the drink turn thick and cold. Two percent milk also works here, though your finished drink will taste a little lighter and less rich.
- Heavy Cream – 1/2 cup Heavy cream makes this milkshake extra thick and rich, adding the creamy body that turns a plain fruit drink into a true milkshake. Half-and-half also works well for a lighter version, though the texture will not be quite as thick.
- Vanilla Ice Cream – 1 cup, melted A scoop or two of melted vanilla ice cream adds sweetness and a smooth, creamy texture to your blended mix. Since the machine cannot take in solid scoops of ice cream, let it melt first before pouring it into the blender. Plain heavy cream with a little extra sugar also works when you want to skip the ice cream altogether.
- Granulated Sugar – 2 tablespoons Sugar balances out the tartness from the strawberries and adds a touch more sweetness to the finished drink. Honey or maple syrup also work well in place of sugar, though they will change the flavor slightly and add a little extra color.
- Vanilla Extract – 1 teaspoon A small splash of vanilla extract rounds out the flavor and adds warmth to the sweet, fruity taste of the strawberries. It is a small ingredient that makes a big difference in the final flavor of your milkshake.
Kitchen Equipment You’ll Need
- Ninja Slushi machine – for freezing and dispensing
- Blender – to mix ingredients smooth
- Measuring cups – for checking liquid amounts
- Cutting board – to prep the strawberries
- Sharp knife – to slice the strawberries
- Rubber spatula – to scrape the blender
- Tall cups – for serving your milkshake
How to Make Ninja Slushi Strawberry Milkshake
Step 1: Prep the Strawberries
Wash your strawberries under cool running water and remove the green tops with a small knife. Slice them in half so they blend easier and break down smoothly in the blender.
Step 2: Blend the Milkshake Mix
Add the sliced strawberries, whole milk, heavy cream, melted vanilla ice cream, sugar, and vanilla extract into your blender. Blend on high speed until the mix turns smooth and creamy, with no small fruit chunks left behind. Scrape down the sides with a rubber spatula partway through so everything blends evenly.
Step 3: Check the Liquid Amount
Pour your blended mix into a large measuring cup to check the total amount before adding it to the machine. Make sure it falls between 16 and 64 ounces, since the Ninja Slushi needs an amount inside that range to work correctly.
Step 4: Add the Mix to the Machine
Open the cover on top of the vessel and pour your blended mix through the easy-fill port. Close the cover firmly once you finish pouring so nothing spills or splashes while the machine is running.
Step 5: Select the Milkshake Preset
Turn on your Ninja Slushi and choose the Milkshake preset from the control panel. This setting starts at the correct temperature made for thick, creamy dairy drinks, so there is no need to adjust anything right away.
Step 6: Let the Machine Freeze the Mix
Allow the machine to run until the lights turn solid and the unit beeps, letting you know your drink reached the right temperature. This step can take between 15 and 60 minutes, depending on your batch size, the strength of your mix, and how cold your ingredients were to start.
Step 7: Dispense and Serve
Place a cup on the drip tray, right under the handle. Slowly pull the handle to pour your milkshake into the cup, then release the handle once your cup is full. Serve it right away while it is nice and thick.
Tips for the Best Ninja Slushi Strawberry Milkshake
- Chill Your Ingredients First Cold milk and cream help your drink freeze faster once it goes into the machine, cutting down on total wait time.
- Use Ripe Strawberries Ripe, red strawberries give the best natural sweetness and color, so your drink needs less added sugar overall.
- Strain for Extra Smoothness Pour your blended mix through a fine strainer before adding it to the machine to catch any tiny strawberry seeds.
- Adjust Sweetness to Taste Taste your blended mix before pouring it into the machine, then add a touch more sugar when your strawberries turn out a little tart. Remember that a mix always tastes sweeter before it freezes, and this Ninja Slushi Strawberry Milkshake Recipe balances out once fully churned.
- Don’t Overfill the Vessel Stay under the 64-ounce line printed inside the vessel so the machine has enough room to churn your drink properly and evenly.
- Clean the Machine Right After Use Rinse out the vessel and auger soon after pouring your drink so leftover milk and cream do not dry and stick to the parts.
Strawberry Milkshake Topping Ideas
A simple milkshake turns into something special once you add a few finishing touches on top. My family loves topping their cups right before the first sip, since the extra layer of flavor and color makes the whole drink feel more special. A few small additions can turn a basic pour into a dessert everyone will remember for a long time.
1. Whipped Cream – a soft, fluffy topping that adds extra creaminess to every sip.
2. Fresh Strawberry Slices – adds bright color and a fresh, fruity bite on top.
3. Strawberry Sauce – a sweet drizzle that boosts the strawberry flavor even more.
4. Chocolate Drizzle – a rich, sweet contrast to the light, fruity milkshake underneath.
5. Vanilla Wafer Crumbs – adds a light, crunchy texture to balance the smooth drink.
6. Crushed Cookies – a crunchy topping that kids especially love on their cups.
7. Simple Sprinkles – adds a pop of color, great for birthdays and parties.
What to Serve With a Ninja Slushi Strawberry Milkshake
This milkshake pairs well with all kinds of meals and snacks throughout the day. Serve it alongside burgers and fries for a classic diner-style lunch, or pour it next to a sandwich for an easy midday meal that feels a little more special.
It also fits nicely with breakfast foods like pancakes or waffles for a sweet morning treat on a lazy weekend. Cookies and brownies make a great pairing too, since the cold, thick drink balances out a warm, rich dessert on the same plate.
This milkshake also works well for birthday parties or summer treats outside, and it makes a nice addition to dessert nights when everyone sits around the table for something sweet and cold to finish the evening.
Frequently Asked Questions
1. Can I use frozen strawberries instead of fresh ones?
Yes, thaw them first so your mix stays fully liquid before pouring it into the machine.
2. Why does my milkshake mix taste too sweet before freezing?
Pre-frozen mixes often taste sweeter before they finish churning, and the flavor balances out once the drink freezes and thickens inside the machine.
3. Can I make this milkshake without heavy cream?
Yes, whole milk alone works fine, though the finished drink will turn out a bit lighter and less rich.
4. How long can I run the Ninja Slushi after my drink is ready?
The unit can run for up to 12 hours total, keeping your drink at the right temperature until you finish pouring every last cup.
5. Can I add mix-ins like chocolate chips to this recipe?
Solid pieces should stay out of the machine itself, so add small mix-ins after pouring your milkshake into a cup instead of blending them in.
Ninja Slushi Strawberry Milkshake Recipe
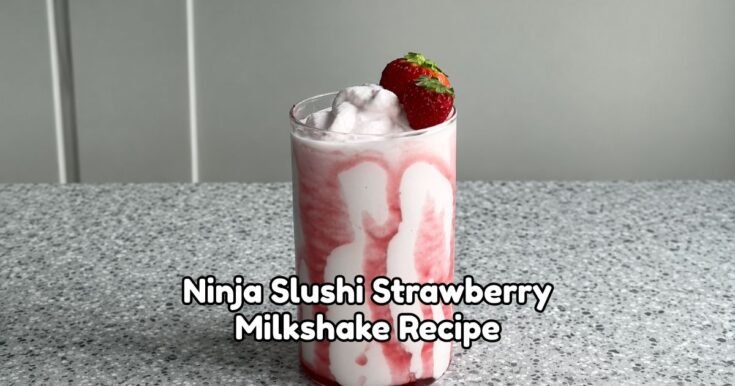
Ninja Slushi Strawberry Milkshake is creamy, fruity, and ready in 25–70 minutes with fresh strawberries, milk, and vanilla ice cream.
Ingredients
- 2 cups fresh strawberries, hulled and sliced
- 1 cup whole milk
- 1/2 cup heavy cream
- 1 cup vanilla ice cream, melted
- 2 tablespoons granulated sugar
- 1 teaspoon vanilla extract
Instructions
- Prep the strawberries: Wash the strawberries, remove the green tops, and slice them in half.
- Blend the milkshake mix: Add strawberries, milk, heavy cream, melted vanilla ice cream, sugar, and vanilla extract to a blender. Blend on high until completely smooth and creamy.
- Check the amount: Pour the blended mixture into a measuring cup and make sure you have between 16 and 64 ounces.
- Add to the Ninja Slushi: Pour the mixture into the Ninja Slushi through the fill port. Close the cover securely.
- Select the Milkshake preset: Turn on the machine and choose the Milkshake preset.
- Freeze the mixture: Let the machine run for about 15–60 minutes, or until the lights turn solid and the machine beeps to indicate the milkshake has reached the proper consistency.
- Serve: Place a tall cup under the dispensing handle. Pull the handle slowly to dispense the milkshake, then release and serve immediately.
Nutrition Information:
Serving Size: 1Amount Per Serving: Calories: 325
This Ninja Slushi Strawberry Milkshake Recipe turns a few simple ingredients into a thick, creamy drink everyone will ask for again. It comes together fast and pours out smooth every single time you run it.
Try this recipe soon, then share your results and rating below. I would love to hear how your batch turned out and which toppings you picked for your cup.