
Frosty-style frozen treats are everywhere in the summer. You see them at fast food spots, on social media, and at almost every backyard party.
They are cold, sweet, and creamy, and everyone seems to want one on a hot day. This Iceman Slushie Frosty Recipe brings that same treat right to your own counter, without a trip to any drive-thru.
The Iceman Slushie Machine makes the whole process simple. You pour your mix into the tank, pick a setting, and let the machine do the work.
In about twenty minutes, you get a thick, smooth, creamy frosty that tastes just like the kind from your favorite chocolate shop. No blender, no ice chunks, and no watery mess to clean up after.
This treat works well for so many moments. Serve it as a sweet dessert after dinner, bring it to a party, or cool off with it on a hot summer afternoon.
Kids love it, adults love it, and it only takes a few simple ingredients to pull off. Let’s get into what you need and how to make it.
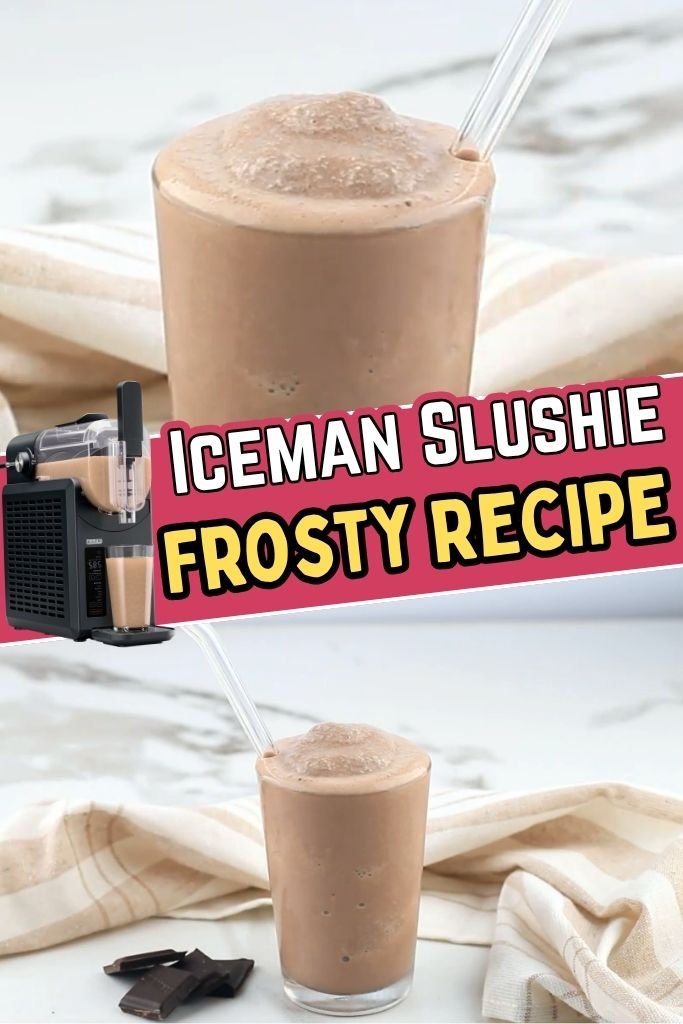
Why Make a Frosty in the Iceman Slushie Machine?
Using a slushie machine to make a frosty beats a blender by a mile. A blender chops ice into rough, uneven bits, but the auger inside this machine spins slowly and constantly, so the mixture turns silky and smooth instead of chunky and grainy. The result feels much closer to soft-serve ice cream than to crushed ice, and the texture stays consistent from the first cup to the last.
Another big plus is convenience. The machine holds the mixture for hours and keeps stirring it, so you can pour cup after cup without starting a whole new batch each time.
This makes it a great pick for parties or busy households, since everyone gets a fresh, creamy pour instead of a watered-down last serving.
Cleanup is also simple, since the tank and auger come apart for quick rinsing. For homemade frozen desserts, this machine turns a fussy, messy process into something almost effortless, and it does the hard part while you get to relax.
Iceman Slushie Frosty Ingredients & Substitutions
- Whole milk (2 cups): This forms the base of the drink and gives it a rich, smooth body. Low-fat milk also works here, though the finished frosty will feel a touch lighter and less rich on the tongue.
- Heavy cream (1 cup): Cream adds thickness and a creamy mouthfeel that makes the frosty feel like soft-serve ice cream. Half-and-half also works for a lighter version, and a splash of extra milk can stretch the batch when you want more servings.
- Unsweetened cocoa powder (1/3 cup): Cocoa brings the deep, chocolate flavor that makes this drink feel like a treat. Dutch-process cocoa also works and gives a smoother, darker color and a slightly milder taste.
- Granulated sugar (2/3 cup): Sugar sweetens the mix and balances out the bitter edge of the cocoa powder. Brown sugar also works and adds a light caramel note that pairs nicely with chocolate.
- Vanilla extract (1 teaspoon): Vanilla rounds out the flavor and adds warmth behind the chocolate. Vanilla bean paste also works for a stronger, more fragrant vanilla taste throughout the drink.
- Fine salt (a small pinch): A pinch of salt wakes up the chocolate flavor and keeps the whole drink from tasting flat or one-note. Skip this only when your cocoa powder already contains added salt.
Kitchen Equipment You’ll Needed
- Iceman Slushie Machine – chills and mixes the drink
- Large mixing bowl – for combining ingredients first
- Whisk – blends the cocoa powder smoothly
- Measuring cups – for accurate liquid amounts
- Measuring spoons – for vanilla and salt
- Serving cups – for pouring the finished frosty
- Rubber spatula – scrapes the mixing bowl clean
How To Make Iceman Slushie Frosty
Step 1 | Mix the Chocolate Base In a large mixing bowl, whisk together the whole milk, heavy cream, cocoa powder, sugar, vanilla extract, and salt. Keep whisking steadily until the cocoa powder fully dissolves into the liquid and no dry lumps remain along the bottom or sides of the bowl. This step matters a lot, since any leftover clumps of cocoa will stay grainy once the mixture chills. Once the mix looks smooth and evenly colored, cover the bowl and chill it in the fridge for about 30 minutes. Cold liquid goes into the machine much faster and gives you a thicker, smoother finished texture.
Step 2 | Set Up the Iceman Slushie Machine Check that the tank drip tray sits in place and is pushed all the way in under the machine. Attach the auger next, and seat the pointed end firmly onto the tip of the cooling cylinder inside the base. Slide the tank over the auger, push it all the way in until it feels snug, then lock everything in place using the tank locking lever. A properly locked tank keeps the machine sealed and running smoothly during the whole cycle.
Step 3 | Pour in the Chocolate Mixture Plug in the machine and open the fill hatch door on top of the tank. Slowly pour your chilled chocolate mixture into the tank through this opening. Keep the liquid level between the MIN and MAX markings printed on the side of the tank, since too little liquid can strain the machine and too much can overflow during mixing. Cold ingredients at this stage help the compressor chill the mix faster and produce a creamier finished drink.
Step 4 | Choose Your Machine Settings On the control panel, select a slushy preset that matches a thick, creamy drink style. The preset automatically picks a typical thickness for you, though the Thickness +/- buttons let you fine-tune it further; a lower setting creates a thicker frosty, while a higher setting keeps the texture a bit softer and easier to pour. Custom mode also works well here for anyone who wants full control over the exact thickness from start to finish.
Step 5 | Start the Machine and Let It Work Press the START/STOP button to begin the cycle. The machine will chill and mix the mixture steadily and continuously, and this process usually takes between 19 and 25 minutes, depending on your chosen thickness setting and how cold your ingredients were at the start. The Progress Lights on the control panel show how far along the cycle has gotten, so you always know roughly how much time remains.
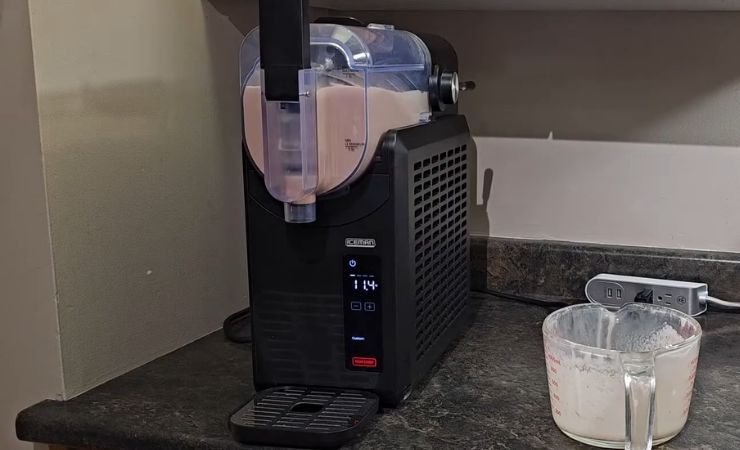
Step 6 | Serve Your Frosty Once the mixture reaches its target temperature, the machine beeps and the Ready light turns on. Place a cup directly under the dispenser nozzle and pull the dispenser handle down along its entire length to release a thick, creamy pour. Pulling only from the very tip of the handle can strain the lever over time, especially with a very thick frosty, so always use the full length of the handle when dispensing.
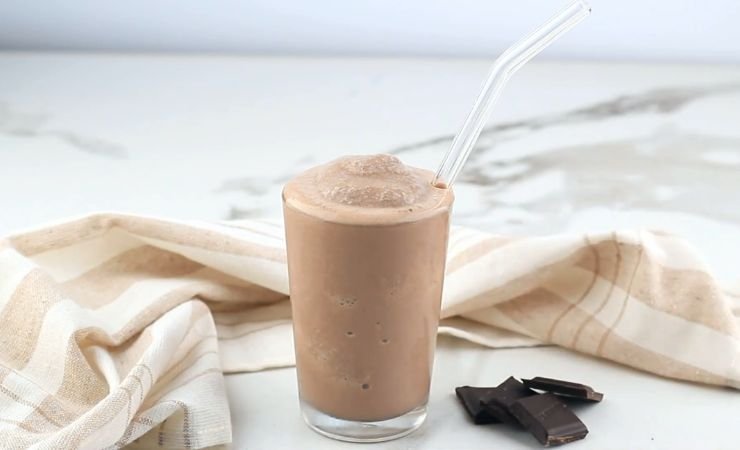
Step 7 | Enjoy More Servings Later The machine holds the finished frosty at its set temperature for up to four hours, and the auger keeps turning the whole time to prevent the mixture from separating. This means you can return for fresh servings throughout that entire window without needing to remix anything by hand or start a brand-new batch.
Expert Tips for the Best Homemade Frosty
1. Chill Every Ingredient First: Cold milk and cream cut down the machine’s total working time and give a noticeably thicker final texture right from the very first pour.
2. Use High-Fat Dairy: More fat in your cream creates a creamier, richer frosty that holds its shape longer in the cup instead of melting down quickly.
3. Skip Sugar Swaps That Freeze Hard: Some sugar alternatives turn icy and grainy inside cold machines, so plain granulated or brown sugar tends to give the smoothest, most reliable result.
4. Taste the Mixture Before Chilling: A quick taste of the raw base lets you add a bit more cocoa powder or sugar before it ever goes into the machine, so the flavor comes out exactly how you like it.
5. Clean the Auger Right Away: Rinsing the auger and tank soon after each use keeps chocolate residue from hardening and sticking, which makes the next batch far easier to prepare.
6. Keep a Spare Batch Chilled: Mixing up a second batch ahead of time and storing it in the fridge lets you refill the machine right away once the first batch runs low.
Serving Suggestions
One evening, I poured this frosty into a tall glass and added a swirl of whipped cream right on top. It looked so good that everyone at the table asked for a taste before I even finished pouring the rest. This chocolate frosty holds up well next to all kinds of foods, from sweet treats to salty snacks, which makes it a flexible dessert for almost any meal.
- Top each cup with whipped cream and chocolate syrup for extra sweetness.
- Pair it with brownies or cookies for a heavier dessert plate.
- Serve it alongside burgers and fries for a classic drive-thru style combo.
- Add chocolate shavings or sprinkles on top for a bit of crunch and color.
How to Store Leftover Frosty
Leftover frosty keeps well in the fridge for about one day, though the texture turns more like a milkshake than a scoopable dessert after it chills for a while. Pour any extra into a sealed container to keep out fridge odors and stop it from picking up other flavors sitting nearby.
For longer storage, place the leftover frosty in a freezer-safe container and keep it in the freezer for up to two weeks. The mixture will freeze fully solid during this time, so let it rest at room temperature for about ten minutes before scooping or blending it again.
To bring back that soft, creamy texture, run the frozen frosty through a blender for a few short seconds, or stir it well as it starts to soften on the counter. This breaks up the ice crystals that form during freezing and returns the drink to a smooth, pourable state that feels close to fresh again.
Frequently Asked Questions
1. Can I make this frosty without a slushie machine?
Yes, a blender or an ice cream maker also works here, though the texture will come out less smooth and even than what the Iceman Slushie Machine produces on its own.
2. Why is my frosty coming out too thin?
This usually happens when the dairy wasn’t cold enough before it went into the tank, or the thickness setting on the control panel was set too low for a thick result.
3. Can I use chocolate milk instead of plain milk and cocoa powder?
Yes, chocolate milk works well as a quick swap, though you may want to cut back on the added sugar since chocolate milk already carries plenty of sweetness on its own.
4. Is this frosty recipe good for kids’ parties?
Yes, its mild chocolate flavor and creamy texture make it popular with kids, and setting up a topping station lets each child build their own cup exactly how they like it.
5. How long does the Iceman Slushie Machine take to make this drink?
Most batches finish between 19 and 25 minutes, depending on the thickness setting chosen and how cold your ingredients were sitting at the very start of the cycle.
Iceman Slushie Frosty Recipe
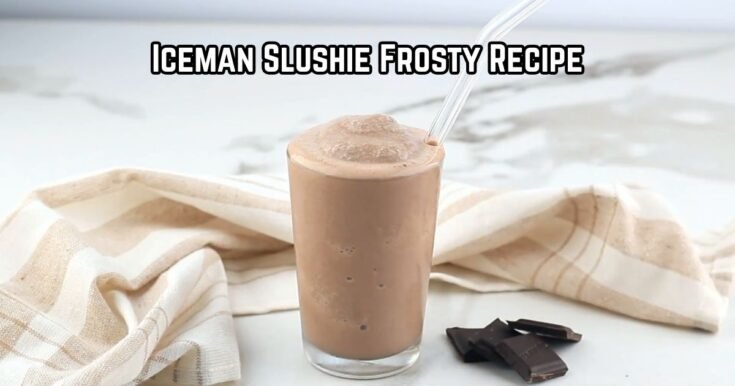
Make a rich Iceman Slushie Frosty in just 1 hour 2 minutes with milk, cream, and cocoa for a thick, creamy chocolate frozen treat everyone loves.
Ingredients
- 2 cups whole milk
- 1 cup heavy cream
- 1/3 cup unsweetened cocoa powder
- 2/3 cup granulated sugar
- 1 teaspoon vanilla extract
- Pinch of fine salt
Instructions
- In a large mixing bowl, whisk together the whole milk, heavy cream, cocoa powder, sugar, vanilla extract, and salt. Continue whisking until the cocoa powder is completely dissolved and no dry lumps remain on the bottom or sides of the bowl. Cover the bowl and refrigerate the mixture for about 30 minutes. Starting with a well-chilled mixture helps the machine create a thicker, creamier frosty.
- Ensure the drip tray is properly installed beneath the machine. Attach the auger securely to the cooling cylinder, then slide the tank into place and lock it using the tank locking lever. Proper assembly ensures smooth operation during freezing.
- Plug in the machine and open the fill hatch on top of the tank. Slowly pour the chilled chocolate mixture into the tank, keeping the liquid level between the MIN and MAX fill lines. Cold ingredients freeze faster and produce the best texture.
- Choose the slushy or frozen drink preset for a thick, creamy consistency. Adjust the thickness using the Thickness +/- controls if desired. Lower settings produce a thicker frosty, while higher settings create a softer consistency.
- Press the START/STOP button to begin the cycle. The machine will continuously chill and mix the mixture for 19 to 25 minutes, depending on your selected thickness and the starting temperature of the ingredients. The progress lights indicate how much time remains.
- When the machine signals that the frosty is ready, place a serving cup beneath the dispenser and pull the handle fully downward to dispense a smooth, thick chocolate frosty. Using the full handle helps prevent unnecessary strain on the dispenser.
- The machine will keep the frosty at the ideal serving temperature for up to 4 hours while continuously stirring to maintain a smooth, creamy consistency. Simply dispense additional servings whenever you're ready to enjoy another glass.
Nutrition Information:
Serving Size: 1Amount Per Serving: Calories: 330
This Iceman Slushie Frosty Recipe turns a simple mix into a thick, creamy treat everyone will ask for again. Grab your machine, pour in the chocolate base, and watch it turn into something special within minutes.
Try this recipe soon, and let me know how your frosty turned out in the comments below. I’d love your rating too!