
There’s something about a cold, sweet cherry drink that just feels like summer. This Ninja Slushi Cherry Slush Recipe gives you that exact feeling in a few easy steps.
You pour in your ingredients, pick a setting, and let the machine turn them into a smooth, icy treat. No blending, no crushing ice by hand, and barely any cleanup after.
This slush works for so many moments. Pour a batch on a hot afternoon to cool off, or scale it up for a pool party, a cookout, or a weekend with the whole family around. The cherry flavor is bold and sweet, so both kids and adults keep coming back for more.
The real magic here comes from the Ninja Slushi machine. It chills and churns your liquid mix at the same time, building a soft, frozen texture without a single ice cube added. What you pour out at the end is smooth, thick, and full of real cherry flavor from start to finish.
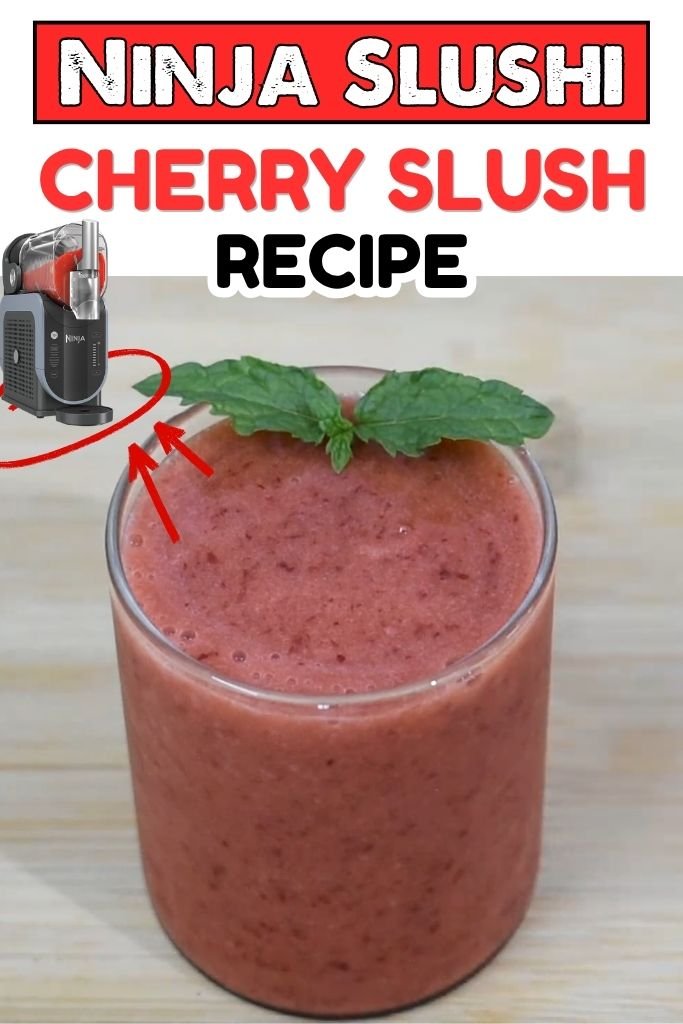
Why You’ll Love This Ninja Slushi Cherry Slush Recipe
This cherry slush has a bold, sweet cherry taste with a smooth, soft texture that melts in your mouth. You don’t need any ice for this machine, which means no watered-down flavor and no chunky bits.
The mix stays smooth from the first cup to the last. This drink only needs a few basic ingredients, and most of them are probably in your pantry or fridge right now.
Once the mix goes into the machine, there’s very little work left for you to do. Press a button, pick your setting, and wait for the magic to happen.
Both kids and adults enjoy this drink, so it works for birthday parties, weeknight treats, or lazy weekend afternoons. You can also swap the juice or soda for other flavors, which means this base recipe can turn into dozens of different drinks over time.
How the Ninja Slushi Machine Makes the Perfect Cherry Slush
The Ninja Slushi machine works in a way that’s different from a regular blender. Instead of crushing ice, it cools your liquid mix slowly while churning it at the same time. This creates tiny ice crystals right inside the drink, which gives you that classic slushy texture without any added water. The result is a thicker, richer drink that tastes just like the fruit and juice you poured in.
Why You Should Never Add Ice
Ice cubes are not needed for this machine, and adding them can actually cause problems. The machine is built to freeze liquid on its own, so extra ice can block the auger or mess with the texture. Skipping the ice also keeps your drink from turning watery, which means every sip stays full of cherry flavor.
Choosing the Correct Preset (SLUSH)
For this cherry drink, the SLUSH preset is the right choice. This setting is made for everyday drinks like soda and juice, and it starts at a default temperature built for smooth, icy texture. You simply pick this preset after adding your mix, and the machine handles the rest.
Best Temperature Settings for a Smooth Texture
The SLUSH preset starts at a temperature that already works well for most drinks, so you likely won’t need to change much. For a softer, more drinkable texture, you can turn the temperature setting up a little. For a thicker, spoonable slush, turn it down. Small changes make a big difference in texture.
How Long It Takes to Freeze
This drink usually takes between 15 and 60 minutes to freeze, depending on how much liquid you use and how cold it was when you started. Colder starting ingredients freeze faster. The lights on the machine will pulse while it works and turn solid with a beep once your slush reaches the right temperature.
Ninja Slushi Cherry Slush Ingredients & Substitutions
- Cherry juice brings the deep, fruity base flavor to this drink. Pick a 100% juice for the richest taste, though a cherry juice blend also works fine.
- Lemon-lime soda adds fizz and a touch of sweetness that balances the tart cherry juice. A clear soda works best so it doesn’t change the color or flavor too much. Sparkling water also works for a lighter, less sweet version.
- Grenadine syrup deepens the cherry color and adds a hint of extra sweetness. This ingredient is optional, but it makes the drink look more vibrant and taste a little richer.
- Fresh lime juice cuts through the sweetness and adds a light, zesty note. Bottled lime juice also works when fresh limes aren’t on hand.
- Sugar or simple syrup can be added for extra sweetness, though many cherry juice and soda combos are sweet enough on their own. Taste your mix before pouring it into the machine, then add sugar only if you want more sweetness.
- Maraschino cherries are used as a garnish on top of the finished drink. They add a pop of color and a little burst of flavor with every sip. Fresh cherries also work well when they’re in season.
Kitchen Equipment You’ll Need
- Ninja Slushi machine — the star tool for this drink
- Large measuring cup — for measuring liquids
- Mixing bowl or pitcher — for combining ingredients
- Whisk or spoon — for stirring the mix
- Serving cups — for the finished slush
- Straws — for sipping the drink
How To Make Ninja Slushi Cherry Slush
Step 1: Mix the Cherry Base
In a large mixing bowl or pitcher, pour in the cherry juice, lemon-lime soda, grenadine syrup, and fresh lime juice. Stir the mix gently with a whisk or spoon until everything blends together. Taste the mix here, and stir in a little sugar or simple syrup for extra sweetness.
Step 2: Check the Liquid Amount
Measure your finished cherry mix. The Ninja Slushi machine needs at least 16 ounces of liquid to run properly, and it can hold up to 64 ounces at once. Adjust your batch size based on how many cups you plan to serve.
Step 3: Add the Mix to the Machine
Open the cover on top of the Ninja Slushi vessel and pour your cherry mix through the fill port. Close the cover firmly once all the liquid is inside.
Step 4: Select the SLUSH Preset
Turn on the machine by pressing the power button. Choose the SLUSH preset from the menu, since this setting is built for drinks like soda and juice. The machine will begin freezing right away at its default temperature.
Step 5: Adjust the Temperature (Optional)
Once the preset starts, you can adjust the temperature dial for a softer or thicker texture based on what you like best. Most cherry slush turns out great at the default setting, so this step is only needed when you want a different texture.
Step 6: Let the Machine Freeze the Drink
Allow the machine to run for 15 to 60 minutes. The lights will pulse while the drink freezes and turn solid with a beep once it’s ready. There’s no need to stir or check on it during this time.
Step 7: Dispense and Serve
Place a cup under the dispensing handle on the drip tray. Slowly pull the handle to pour out the slush, then release it to stop the flow. Garnish with a maraschino cherry and serve right away.
Pro Tips for the Best Cherry Slush
- Chill Your Ingredients First — Cold liquid freezes faster in the machine, so store your juice and soda in the fridge before mixing.
- Balance the Sweetness with Lime — A little extra lime juice keeps the drink from tasting too sugary, especially when using sweeter sodas.
- Don’t Overfill the Vessel — Stay within the 16 to 64 ounce range for the best texture and to keep the machine running smoothly.
- Keep the Preset Running Until Fully Dispensed — Avoid turning off the SLUSH preset until all the drink has been poured out of the machine.
- Clean the Machine Right After Use — Rinsing the vessel and auger soon after use keeps sticky cherry syrup from building up.
Serving Suggestions
The first time I served this cherry slush at a backyard cookout, it disappeared faster than anything else on the table. Everyone kept coming back for a refill, and a few guests asked for the recipe before they even left. Here are some fun ways to serve it:
- Garnish each cup with fresh cherries on top
- Add a few lemon slices for extra color and zest
- Serve with colorful straws for a fun, festive look
- Pair it with burgers, sandwiches, or grilled foods
- Serve at birthdays, backyard BBQs, and summer parties
Make-Ahead and Storage Tips
Can You Make It Ahead?
You can mix the cherry base ahead of time and store it in the fridge until you’re ready to freeze it in the Ninja Slushi machine. This saves time on busy party days, since the mixing step is done early.
How Long Does It Last?
Once frozen, this cherry slush tastes best within the first hour or two after it’s made. The Ninja Slushi machine can keep your drink at the right temperature and ready to pour for up to 12 hours, so it stays fresh through a long party.
Can You Refreeze It?
Refreezing this slush isn’t recommended once it has fully melted, since the texture won’t return to that smooth, icy consistency. It’s best to only make the amount you plan to drink that day.
How to Refresh the Texture
When your drink starts to soften near the end of the party, let the machine keep running on its preset. It will continue chilling and churning the mix, bringing back that smooth, slushy texture.
Frequently Asked Questions
1. Can I use frozen cherries in this recipe?
No. The Ninja Slushi machine is built for liquid only, and adding frozen fruit or ice can damage the auger or block the machine. Stick with cherry juice for the fruity flavor instead.
2. What other flavors can I make with this same method?
This base method works well with many drinks, including orange juice, lemonade, or even chocolate milk for a milkshake style treat. Just swap the SLUSH preset settings based on what type of drink you’re making.
3. Why is my cherry slush too sweet?
Some cherry juice and soda combos are naturally sweet, and pre-frozen ingredients can taste sweeter before they’re churned. Add a little extra lime juice to balance the flavor, and remember the sweetness often mellows out once the drink is fully frozen.
4. Can I make a non-alcoholic and alcoholic version with the same base?
Yes. This cherry base works great on its own for a family-friendly drink, or you can turn it into a cherry spiked slush using the SPIKED SLUSH preset with your favorite spirit added to the mix.
5. How many servings does one batch make?
One full batch using the maximum 64-ounce capacity makes about eight small cups or four to five larger servings, depending on the cup size you use.
Ninja Slushi Cherry Slush Recipe
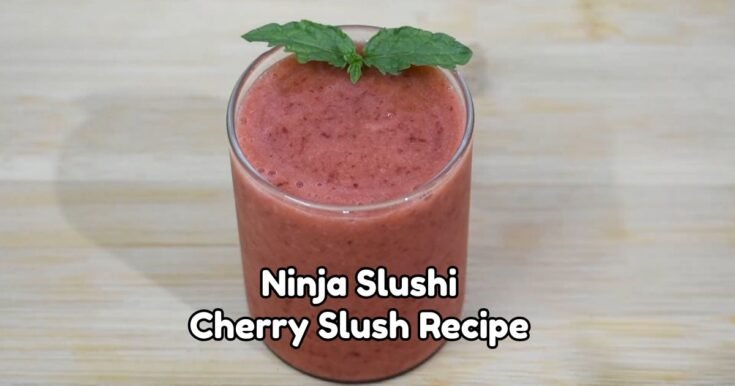
Make this Ninja Slushi Cherry Slush in 35 minutes with cherry juice, soda, and lime for a refreshing frozen drink everyone loves.
Ingredients
- 4 cups cherry juice
- 2 cups lemon-lime soda
- 2 tablespoons grenadine syrup (optional)
- 2 tablespoons fresh lime juice
- 2 tablespoons sugar or simple syrup (optional, adjust to taste)
- 4 maraschino cherries, for garnish
Instructions
- In a large mixing bowl or pitcher, combine cherry juice, lemon-lime soda, grenadine syrup, and fresh lime juice. Stir gently until well mixed. Add sugar or simple syrup if extra sweetness is desired.
- Measure the cherry mixture and make sure you have at least 16 ounces of liquid for the Ninja Slushi machine. Adjust the amount based on the number of servings needed.
- Pour the cherry mixture into the Ninja Slushi machine through the fill port and close the cover securely.
Turn on the machine and select the SLUSH preset. Allow the machine to freeze the drink until it reaches the perfect slushy texture. - Adjust the temperature setting if you prefer a softer or thicker slush consistency.
- Let the Ninja Slushi machine run for about 15 to 60 minutes until the drink is ready. The machine will beep when the slush reaches the ideal texture.
- Place a cup under the dispenser, pull the handle to serve, and release when finished. Garnish each glass with a maraschino cherry and enjoy immediately.
Nutrition Information:
Serving Size: 1Amount Per Serving: Calories: 165
This Ninja Slushi Cherry Slush Recipe turns simple ingredients into a cold, sweet treat everyone loves.
It’s quick, smooth, and full of bright cherry flavor from the first sip to the last. Try this recipe soon, and drop a comment with your rating and thoughts below!